Uploading Segment
To upload a new segment, follow the procedure given below:
- Log in to the Session AI platform.
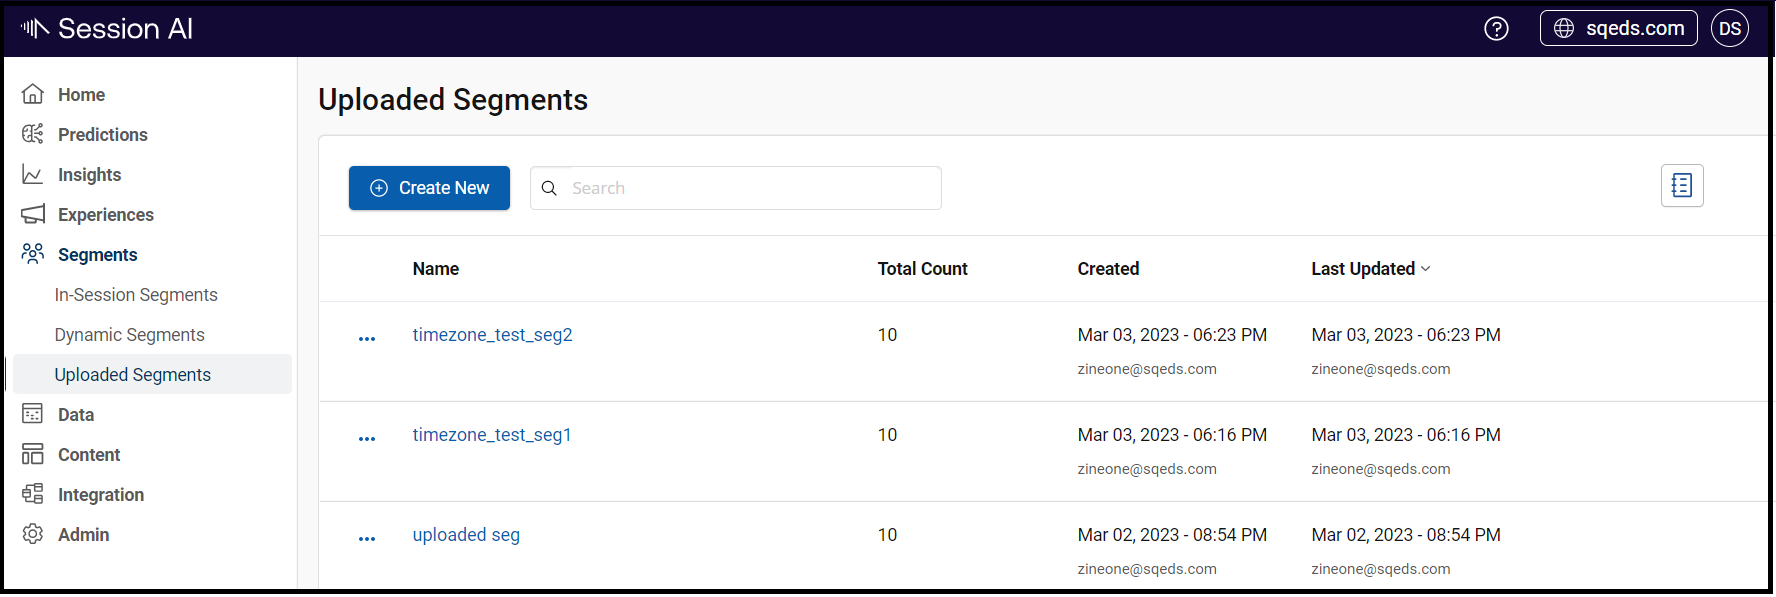
Performance Overview page is displayed. - In the Segments menu, click Uploaded Segments tab.
The list of Uploaded Segments is displayed. - Click Create New to upload a new segment.
The Uploaded Segment screen appears.
- In the Segment Name field, enter the name of the segment.
- Click Select CSV File and browse and select the required CSV file.

The following information is displayed in the pane:
- Name: Name of the file.
- Type: Type of the file. For example, application/vnd.ms-excel.
- Size: Size of the file.
- Click Upload It to upload the file.

Note
- The customers from the segment file must already be available in the Session AI platform. If the customers are not available in the Session AI platform but are present in the CSV file, the system does not add the file to the segment.
- Only the Primary or Secondary attributes of a customer must be mentioned in the CSV file. If you add more than one customer attribute in the CSV file and try to upload it in the segment, then the Header row should only contain identifier attributes error occurs.
The UPLOAD ACTIVITY section displays the details and status of the uploaded file:
- FILE NAME: Displays the name of the uploaded file.
- PROFILE UPLOADED: Displays the total number of rows uploaded using the CSV.
- TOTAL PROFILES: Displays the total number of profiles added in the segment.
- START TIME: Displays the time when the file upload started.
- END TIME: Displays the time when the file upload ended.
- INFO: Displays the total number of profiles uploaded, removed, and skipped in a segment.
In this example, the total number of customers (total five records) is uploaded in that segment.
- If required, perform the following:
- To refresh the status of the upload activity, click Refresh Status.
- To clear the status of the upload activity, click Clear All.
- Click Done.

Removing Customers from Segment using CSV File
Once you upload a segment, you can add or remove segment profiles within a segment using a CSV file. Let us use the Sample Segment that we previously uploaded.
- In the Segments menu, click Uploaded Segments tab.
The list of all the Uploaded Segments is displayed. - Browse and open the segment for which changes are required.

The selected Dynamic segment page is displayed.
- Click Select CSV File and browse the CSV file.

Caution:In the below example, the Profile1.csv CSV file includes two columns, where the header fields for both the columns are
id.
- The first column is always used to add profiles.
- The second column is always used to remove profiles.
In the below example, the Profile1.csv CSV file includes two columns, where the header fields for both the columns are id.
- The first column is always used to add profiles.
- The second column is always used to remove profiles.

Note:
- The header field(s) can either be an id (customer ID) or a secondary key (for example, encryptedId).
- Remember that you can use the id and encryptedId interchangeably in the column header. For example, id can be used to add profiles and encryptedId can be used to remove profiles, and vice versa.
- Click Upload it.
The UPLOAD ACTIVITY table displays the latest status. The Info column displays the 5 profiles added. 2 profiles removed. status.

In case, you try to remove profiles that have been already removed from the previously uploaded file, the system skips those two rows and adds the new profiles.
- Click the report icon at the left corner to view more details of the errors.
- Click Done.

The following window displays the error details.

Similarly, you can add or remove profiles using various combinations in the CSV file. Some of the combinations are listed below:
- Add and remove profiles to a segment using a secondary key as the header
| encryptedId,encryptedId enc1,enc2 enc3,enc4 enc5, |
- Only remove profiles from a segment
| encryptedId,encryptedId ,enc6 ,enc7 ,enc8 |
- Only add profiles to a segment
| encryptedId,encryptedId enc9, enc10, |
You can also represent the above example with a single column CSV as shown below:
| encryptedId enc9 enc10 |
Updated about 1 year ago