Configuring Geofence Location
Geofencing is a technology to create a virtual, location-specific boundary with a defined perimeter using Global Positioning System (GPS), Radio Frequency Identification (RFID), or even Bluetooth technology. It allows apps to trigger an event when a mobile device enters or leaves the established perimeter. It is used to trigger location-specific notifications to customers or track the time they spent within a geofence area. Using this page you can define a Geofence location with the provided latitude, longitude, and radius of the location.
A simple Geofence use case would be; if a mobile enters a certain perimeter around a restaurant, then the application triggers an event and provides offers or advertisements related to their favorite food or drinks.
To make sure your platform SDK tracks whenever a customer breaches the Geofence location that you defined in the Session AI platform, you should configure the SDK for Geolocation services. For more information, refer to the iOS, Android and HTML5 section.
Adding a New Location Channel
This section describes the procedure to add a new Geofence Location channel.
- In the Integration menu, click the Data Channels tab.
- In the Data Channels screen, click the Generic tab.
The list of Generic channels will be displayed on the screen.

- Hover over the Location channel, click the Edit
 icon.
icon.
The Locations screen displays all the added Geofence location channels (If added). - Click the Add a Location button from the upper-right corner.

The Locations screen displays the new channel settings.
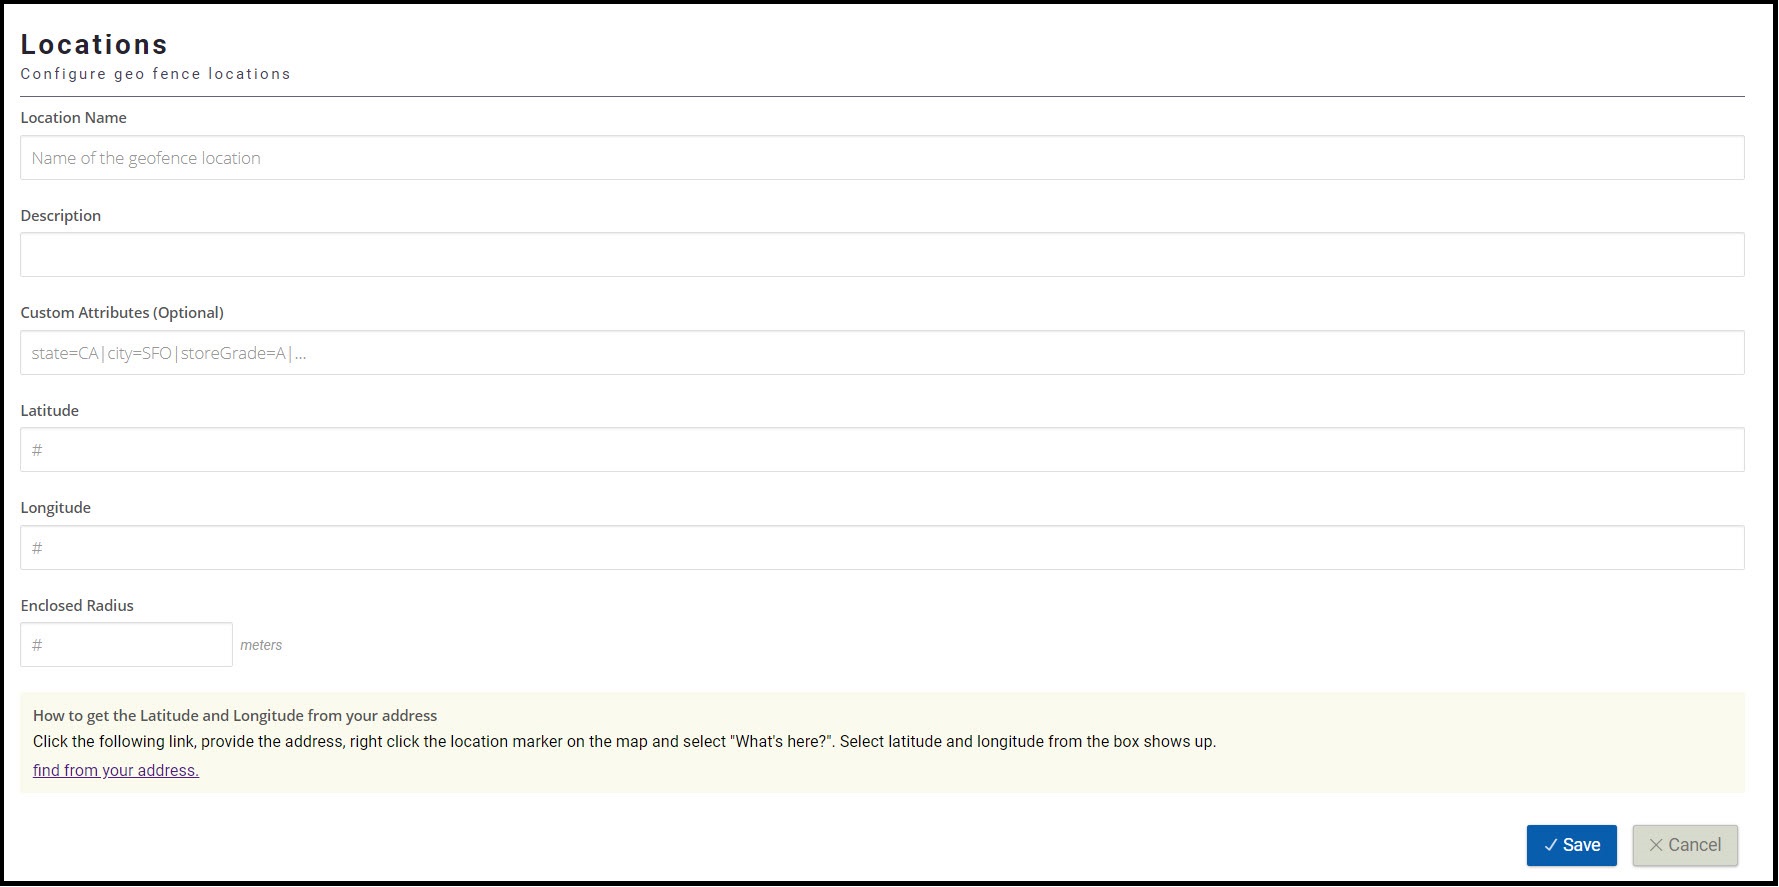
5. Enter the following details:
- Location Name: Enter the appropriate name for a channel.
- Description: Enter the appropriate description.
- Custom Attributes (Optional): Enter the appropriate attributes, if necessary.
- To get the Latitude and Longitude of your location. Click the find from your address link and follow the instruction.
OR - Latitude : Enter the appropriate latitude value.
- Longitude : Enter the appropriate longitude value.
- Enclosed Radius : Enter the appropriate radius value in meters.
- Click Save.
The newly added geofence location appears in the list of locations.
7. On the Locations screen, set this configuration:
- Track geofences within miles of the customer's current location text box, enter the appropriate value in miles and click Save.
- To set the status of the location as Active or Inactive, from the list of added geofence locations, switch on or off the toggle. By default, the status of the newly created geofence is Active under the Active column.
NoteEnsure that the geofence locations are in the Active state. The system ignores the Inactive geofences while tracking for a customer's current location.
Editing a Location Channel
To Edit or Delete an Existing Location Channel, follow the steps given below:
- In the Integration menu, click the Data Channels tab.
- In the Data channel screen, Click the Generic tab.
The list of channels will be displayed on the screen. - Hover over Locations, click the Edit icon.
The system displays all the configured geofence locations. - On the Locations screen, perform the following:
- To edit a location channel, click on the desired location channel and perform the desired changes.
- To delete a location channel, from the Delete column, click the Delete icon for the desired location.
Updated about 1 year ago