Configuring Push Notification
To configure Push notifications, follow the steps given below:
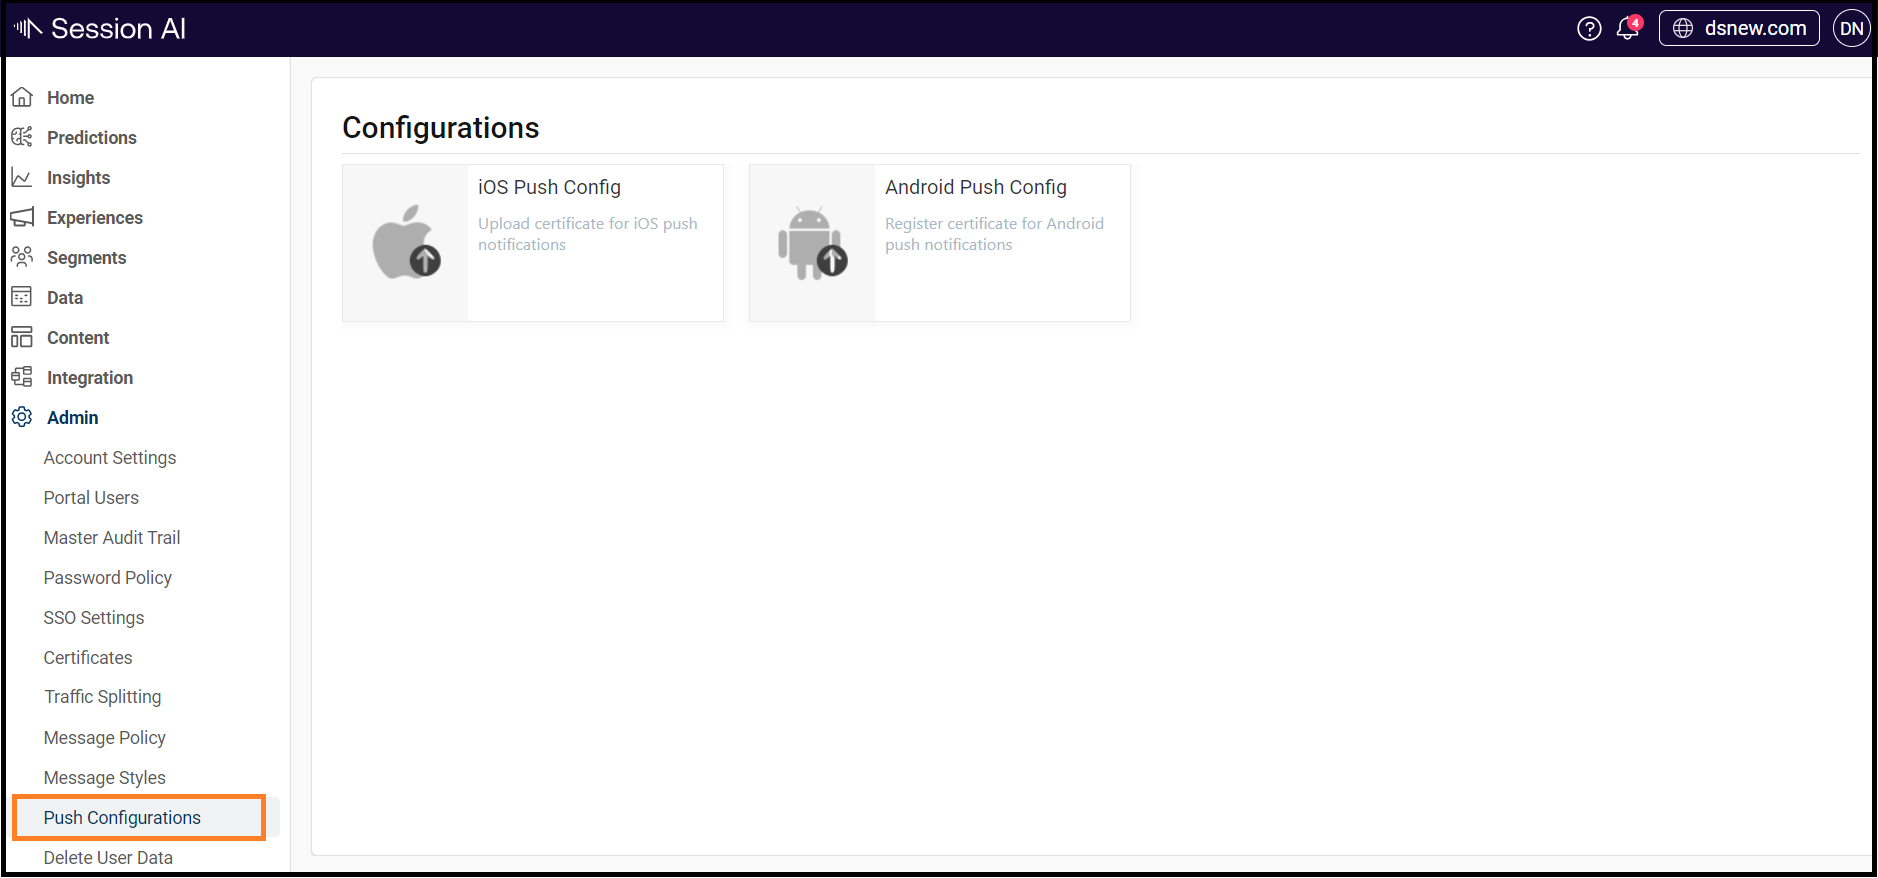
- In the Admin menu, click the Push Configurations tab.
The Configurations screen appears.

iOS Push Config
After generating the Push Certificate for your application, you need to upload your .p12 file to your Session AI account. This allows Session AI servers to connect to APNS Connection Server over HTTP.
For more information, refer to the Generate Push Certificate section in the Session AI Developer's Guide.
- Under Configurations, hover over iOS Push Config and click the Edit
 icon.
icon.
The iOS Push Configuration screen appears. - Perform the following and click Upload.
- Choose file: Choose your .p12 file from your hard disk.
- Provide certificate password: Enter the password if you specified while exporting from the keychain.
- Is this a production certificate?: Based on your environment, select or unselect the checkbox.
- Select the checkbox only if you are building the application for production.
- Unselect the checkbox if you are building the application for development using the provisional certificate, which is not intended for distribution.
- Provide the App Bundle Identifier: Unique ID provided for the Apple app.

Android Push Config
After setting up your application for push with the Session AI SDK, you need to add your Google Cloud Messaging (GCM)/ Firebase Cloud Messaging (FCM) Push Authorization Key to your Session AI account. This allows Session AI servers to connect to GCM/FCM Connection Server over HTTP.
For more information about Cloud Messaging, refer to the Google Developers site.
- In the Admin menu, click the Push Configurations tab.
The Configurations screen appears. - Under Configurations, hover over Android Push Config and click the Edit
 icon.
icon.
The Android Push Configuration screen appears. - In the Provide server key field, enter your GCM/FCM authorization key and click Upload.
The GCM/FCM authorization key is uploaded successfully.

Updated 8 months ago