Managing Entities
An Entity is a server-side object provided by the Session AI platform which serves as a data store and allows you to store incoming user data or business data of any kind. Similar to a database table, a unit of data stored in an entity is a row having multiple attributes (similar to database table columns), each of a specific data type. There is no limit to the number of rows that can be stored in an Entity.
The data stored in an entity can be accessed and managed via APIs exposed by the Session AI script engine, and this data can be used in your experience use case as necessary. Incoming event data is added to an Entity via the script APIs or by uploading data from a Comma-Separated (CSV) or Comma-Delimited file.
A list of javascript APIs for the entity is available in API Reference.
This section describes the procedures to add, view, edit, and delete an entity.
Adding a New Entity
- On the Data menu, click the Entities tab.
The Entities screen is displayed. - On the Entities screen, click Create New in the left corner.
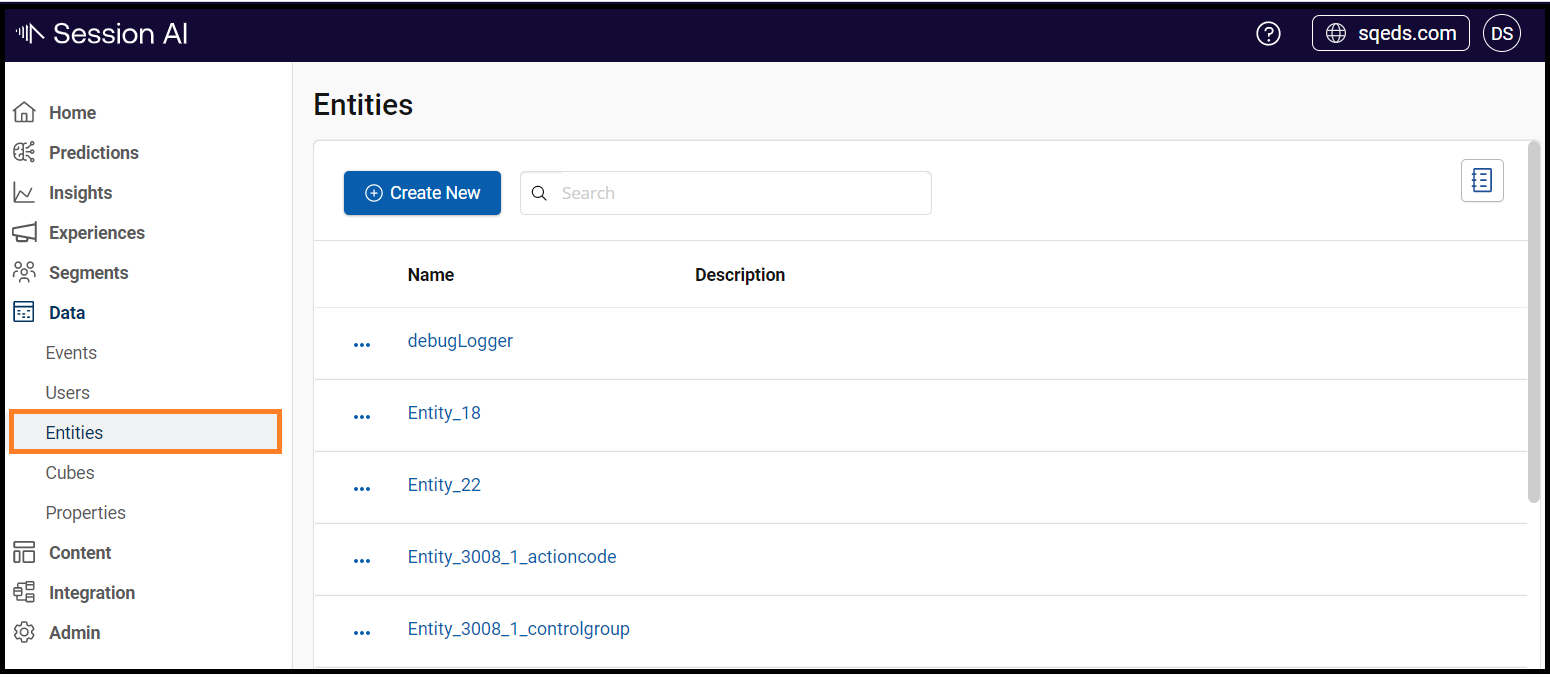
The Entity screen appears.
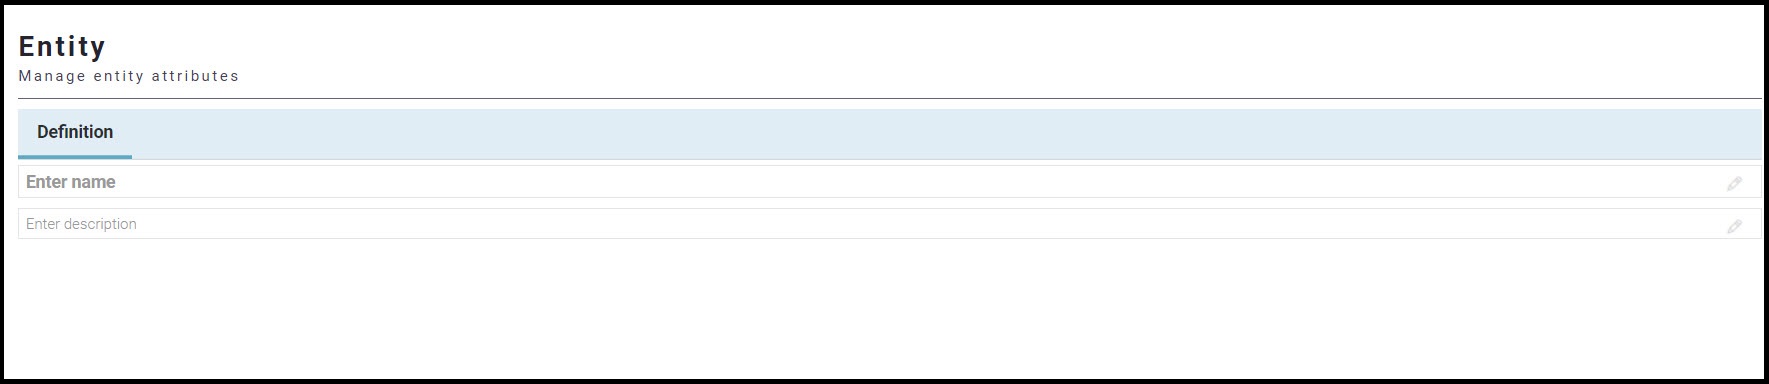
- Click the Enter name text box.
The Entity pop-up window appears. - In the Entity pop-up window, enter the following details:
- Name: Enter a name for the new entity.
- Description: Enter a description for the entity.
- Click OK.
The Custom Attributes tab appears on the screen.
- Click the Add Attribute in the top right corner.
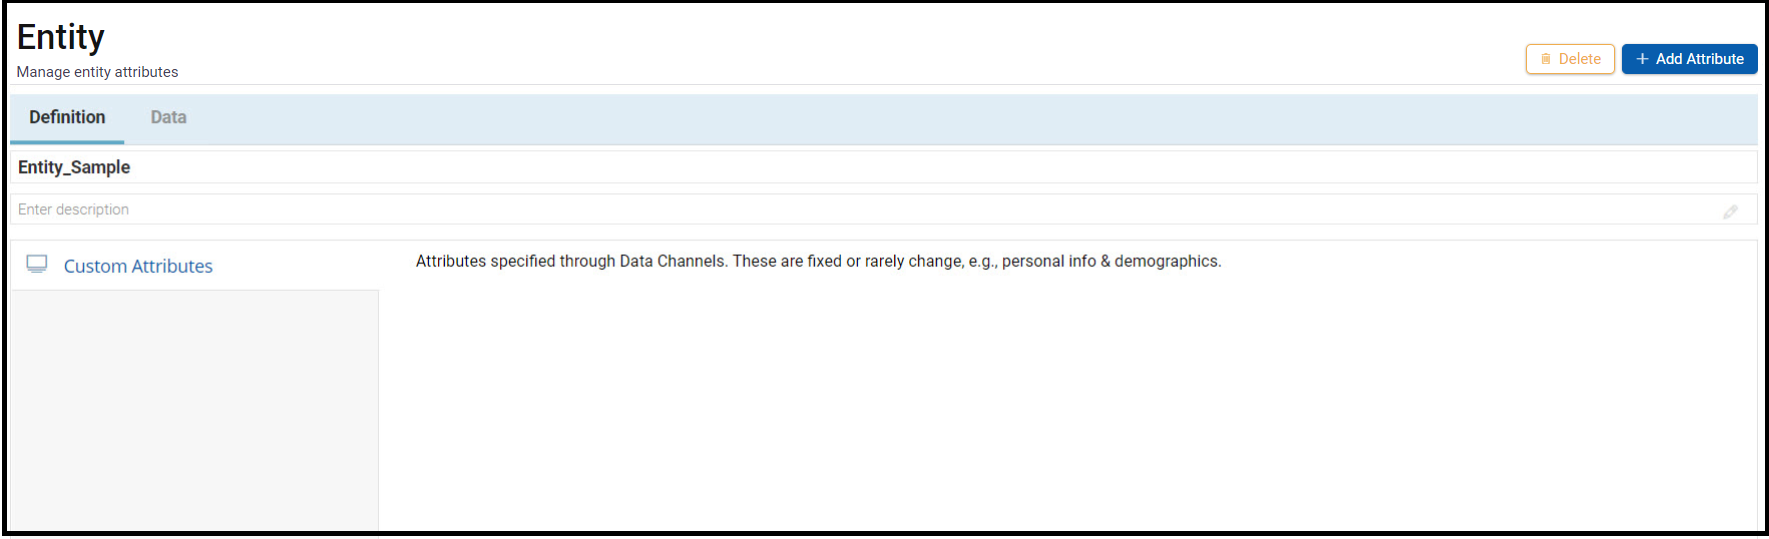
NoteTo use the newly created entity, it is mandatory to create necessary attributes for that entity.
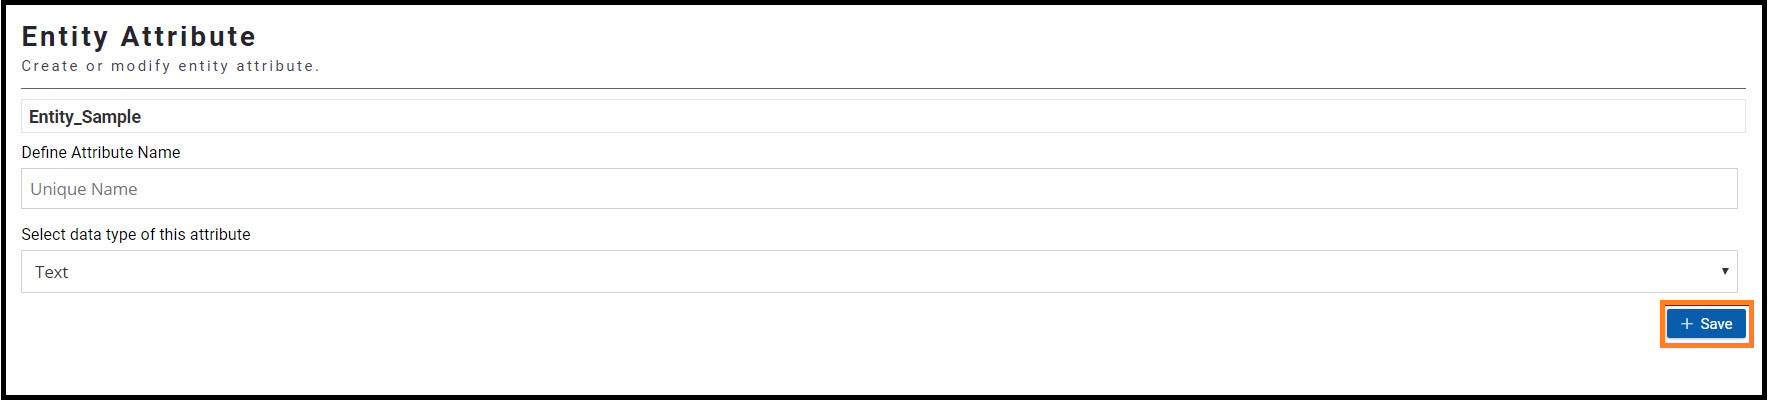
The Entity Attribute screen appears.
- On the Entity Attribute screen, enter the following details:
- Define Attribute Name: Enter a unique name for the attribute.
- Select data type of this attribute: Select the appropriate data type (Text, Number, Name, Date, Email, Phone Number) for your attribute.
- Click Save.
The newly added attribute appears in the Custom Attributes tab.
Add more attributesTo add more attributes to your entity, repeat steps 7 to 9.
- On the Entity screen with the newly added attribute, perform the following:
- Click the Edit icon, to edit the attribute details as highlighted in the image below.
- If you want to delete an attribute, click on the Delete icon.
- On the Entity screen, click the Data tab to add data to the entity.

Click the UPLOAD OPTIONS link.
Add Data in EntityData can be added to an Entity either from processing code or it can also be uploaded by using the UPLOAD OPTIONS link.
- In the UPLOAD OPTIONS section of the Data tab:
- Click the UPLOAD DATA button, which opens a file browser dialog box.
- Select the .csv file that contains the entity data.
The Entity screen appears with the selected file under the UPLOAD OPTIONS section. - On the Entity screen with the selected file, click the Upload it button.
The data from the selected .csv file is uploaded to the Entity and the screen shows its processing status. - Click the Fetch Upload Status link to view the upload status.
The upload status details appear in the Upload Activity list. - Refresh the page to view the uploaded data.
The uploaded data appears in the list of Data tab.

Follow these rules while adding data into the Entity:
- Set all attributes for the entity object.
- Attribute names of the Entity should exactly match the attribute names mentioned in the Event Enrichment code or the .csv file.
- While uploading data from a .csv file, if a column value is missing in the .csv file, then the uploaded value will be null.
- If there is no value defined for an attribute then set the value as an empty string (““), ”NULL” or 0 based on the datatype of attributes defined for the entity.
- The accepted Date formats for an Entity attribute of type Date are:
- YYYMMDD
- YYYYMMDDHHmm
- YYYYMMDDHHmmss
- YYYYMMDDHHmmssSSS
Cloning an existing Entity
To clone an existing entity schema, follow the steps given below
- In the Data menu, click the Entities tab.
The Entities screen displays the list of all the entities. - Click
 icon of the entity, whose schema needs to be cloned. Then click Clone Entity Schema.

- A Clone Entity Schema dialog box is displayed. Provide the required inputs: New Entity Name and Entity Description.
- Then click OK. A newly cloned entity will be displayed in the entity list.

Editing an Entity
To Edit and Delete an Existing Entity, follow the steps given below
- In the Data menu, click the Entities tab.
The Entities screen displays the list of all the entities.
- Name: Name of the Entity. It also provides a link to edit and update the entity.
- Description: Displays the description given for the entity.
Note: Both the fields are sortable.
- Click icon to perform the following activity:
a. To View Details of the entity.
b. Clone Entity Schema the of the entity.
c. To view Audit Trail for that entity
d. To Delete the entity.
